1. In Netbeans, goto Tools->Plugin, choose Settings tab, then click Add button.
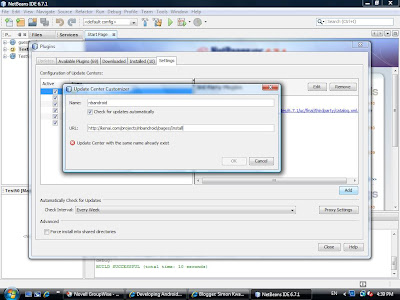
2. A dialog is shown, type http://kenai.com/projects/nbandroid/pages/Install in the URL textfield.
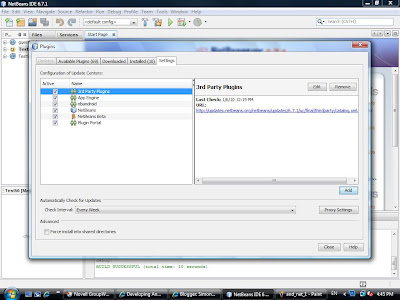
3. A new Update Center is added.
4. Goto Available Plugins tab, type "android" in the Search field, check Android plugin and press Install button.
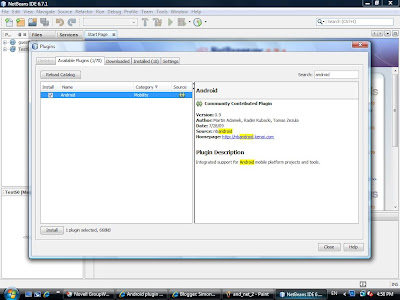
6. Click Install button.
7. Click Continue and then Finish finally. This finish the steps of installing Netbeans plugin.

8. Then, download the Android SDK from the following URL http://developer.android.com/sdk/index.html
Choose android-sdk_r04-windows.zip to download if you are using Windows OS.
9. Unzip the SDK and install in any folder you like. Then run the SDK Setup program to install additional platform component. You may encounter the following error when the program is executed, then goto step 10 to fix this problem.
10. Select Settings, check "Force https://...sources/ to be fetched using http://..." and then click Save & Apply button.
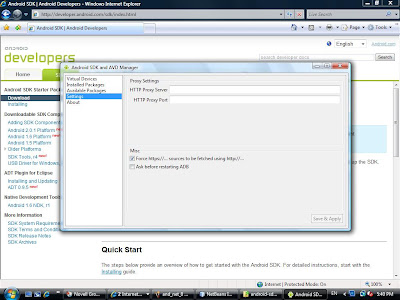
11. Goto Available Packages, then select the target platform and click Install Selected button.
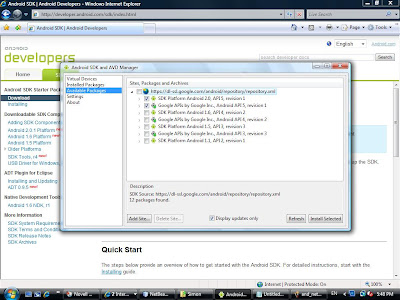
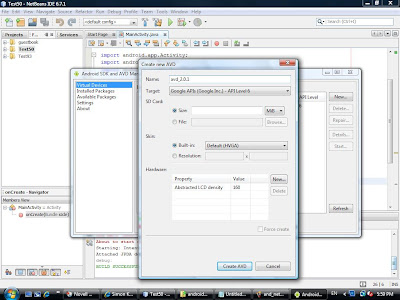
12. Finally, goto Virtual Devices, click New button and create a virtual device.
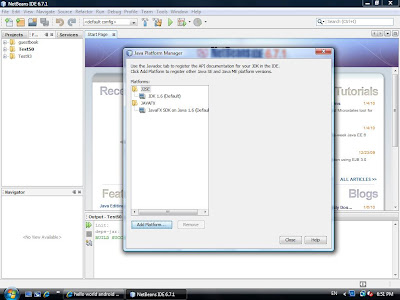
13. In Netbeans, goto Tools->Java Platforms, then click Add Platform...
14. Select Google Android and then click Next button. Then select the target platform.
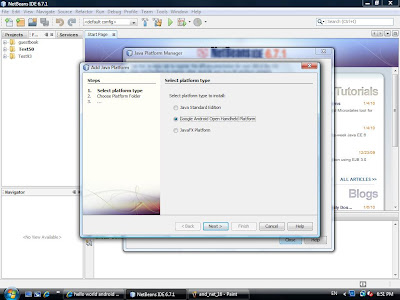
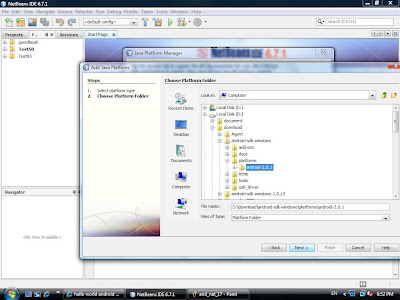

15. Click Finish button. You are now ready to create an Android Project.
In Netbeans, goto File->New Porject and select Android project, then a new project is created.
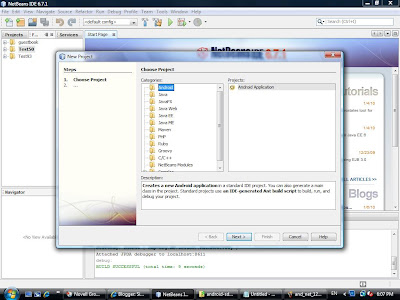
16. Add the following code in your MainActivity.java for testing:
import android.app.Activity;
import android.os.Bundle;
import android.widget.TextView;
public class MainActivity extends Activity {
@Override
public void onCreate(Bundle icicle) {
super.onCreate(icicle);
TextView tv = new TextView(this);
tv.setText("Hello, Android!");
setContentView(tv);
}
}
17. You can set break point in your code. Then, goto Debug->Debug Main Project to debug the program.
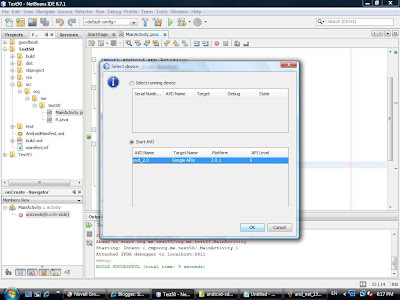
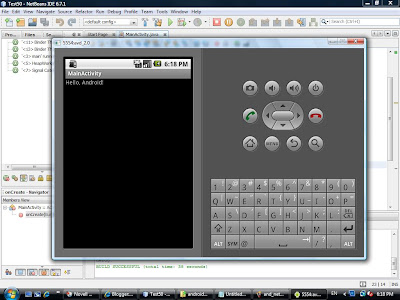
18. You have to wait for a few minutes when the emulator starts running.
Click the emulator's menu button, then you can see that the program is running.
Tip: You need not to close the emulator when you finish the debugger session, just keep it running all the time.
By Simon Kwan
A Developer of Facebook Application Happy Friday


沒有留言:
張貼留言